
AeroPress Espresso-Style Concentrate
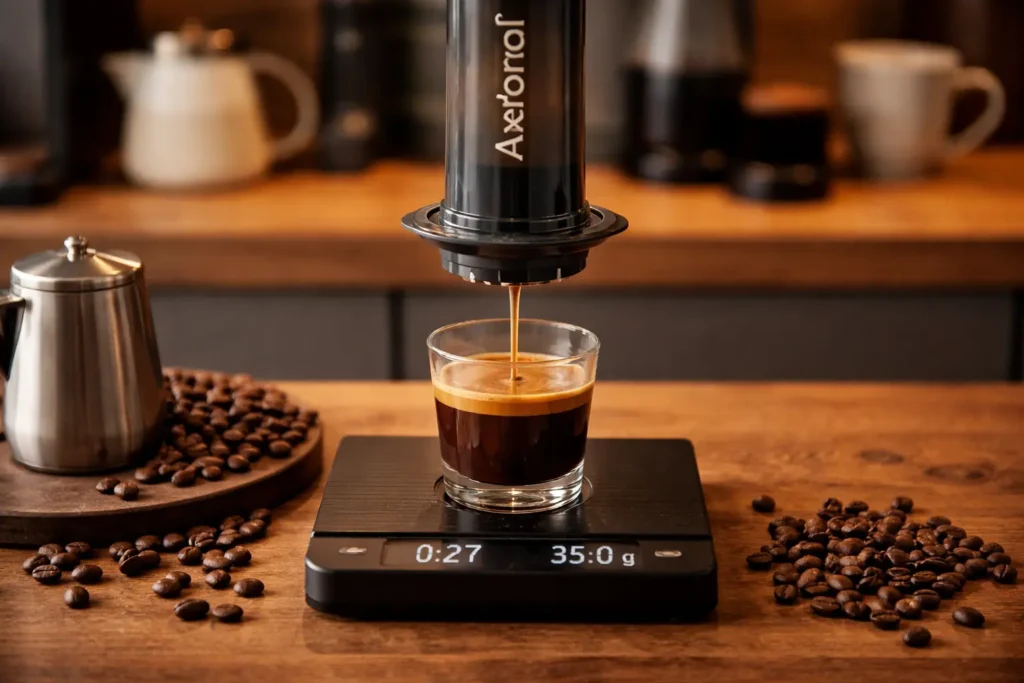
Editorial standards: this guide separates brewing technique from product recommendations. Ratios, grind settings, temperatures, and times are starting points that should still be adjusted for the coffee and brewer.
At a glance
It is concentrated coffee, not true espresso
AeroPress can make a strong, compact brew that works well in milk drinks and iced recipes, but it does not generate espresso-machine pressure.
The useful goal is intensity and balance: enough concentration to stand up to milk without pushing the grind so fine that the press stalls or tastes harsh.
Editorial analysis
Ratio sets strength; grind and temperature control extraction
Use a small water dose to build concentration, then use grind and contact time to keep the extraction balanced.
If the concentrate is strong but sour, adjust extraction. If it tastes balanced but too weak for milk, increase dose or reduce brew water rather than simply grinding finer.
The 30-Second Answer
Start around 18–20g of coffee with roughly 60–90g of water, using a fine-to-medium-fine grind. Brew briefly, press with steady pressure, and treat the result as an espresso-style concentrate for lattes, cappuccinos, iced drinks, or dilution.
Start with the core setup
Start with these representative choices
These products make the equipment side of the guide concrete while keeping the main article focused on brewing decisions.
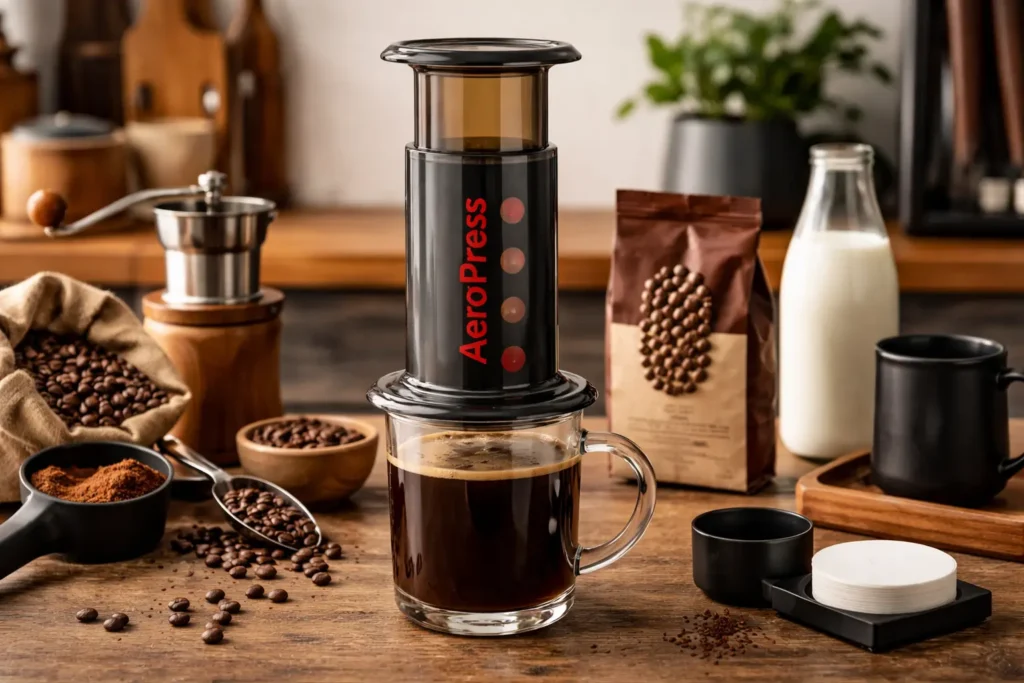
AeroPress Original — concentrate reference
The standard AeroPress is the simplest baseline for concentrated recipes and milk-drink bases.
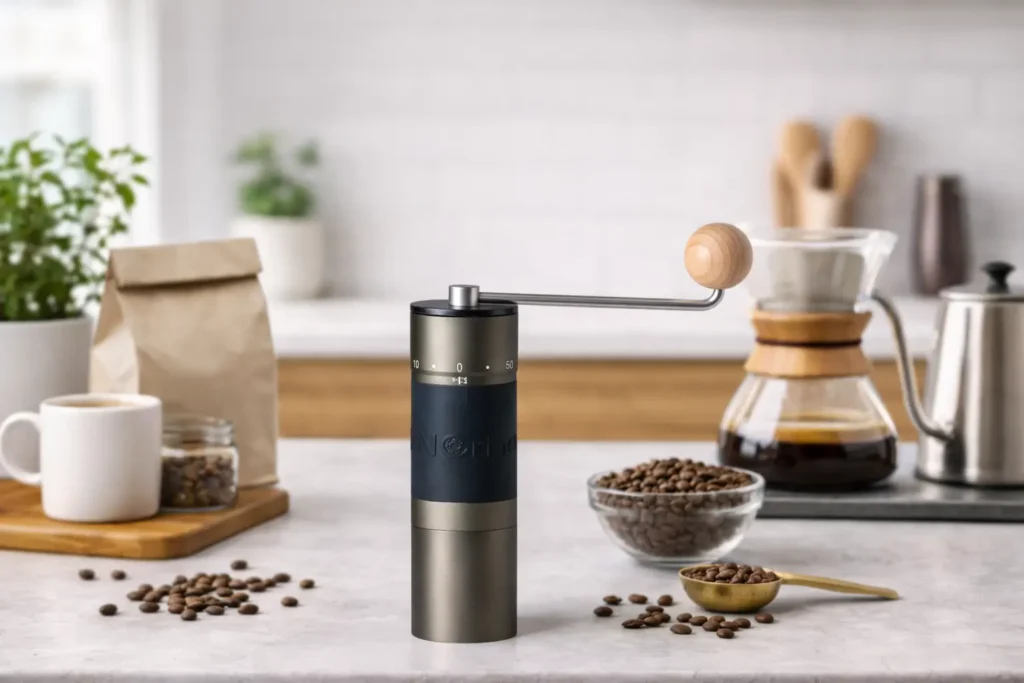
KINGrinder K6 — grind-control reference
A repeatable fine-to-medium-fine range makes concentrate recipes easier to adjust without stalling the press.
Affiliate disclosure: Amazon links may earn CoffeeGearHub a commission at no additional cost to you. Prices and availability can change.
What Is AeroPress Espresso Concentrate?
Before we get into recipes, one term needs to be settled: the AeroPress does not make espresso. True espresso is defined by the extraction pressure — typically 9 bars sustained through finely ground coffee — which produces a specific emulsification of oils, dissolved solids, and suspended particles that no hand-powered device can replicate.
What the AeroPress does make, using a fine grind and a greatly reduced water volume, is an espresso-style concentrate: a small-volume, highly saturated brew with espresso’s intensity, body, and low bitterness. The TDS (total dissolved solids) is similar. The volume is similar. And in a latte or iced drink, the behavioral difference between true espresso and AeroPress concentrate is undetectable to most drinkers — including experienced ones.
This distinction matters for one reason: if you understand what the AeroPress is actually doing, you’ll brew it better. You’re not trying to replicate pressure extraction — you’re using fine grind, high dose, and low water volume to maximize concentration and intensity within the limits of immersion brewing. That’s a different goal, and it has its own optimal parameters.
✅ The practical bottom line: AeroPress espresso concentrate works beautifully in lattes, cappuccinos, Americanos, and iced drinks. For straight shots compared side-by-side with machine espresso, the differences are detectable. For everything else, it’s an excellent substitute that costs a fraction of the price of an espresso machine.
Extraction Science: Why AeroPress Concentrate Works
Understanding what’s happening during an AeroPress concentrate brew explains why each variable in the recipe matters — and makes troubleshooting much faster when something tastes off.
Grind Size Controls Extraction Rate
A finer grind dramatically increases the surface area of coffee exposed to water. More surface area = faster extraction of soluble compounds. For concentrate, we want a high TDS (total dissolved solids) in a small water volume, and fine grind is the primary lever that makes that possible without extending brew time to impractical lengths.
The risk with fine grind is over-extraction — once you’ve extracted the desirable compounds (acids, sugars, fruity and caramel notes), continued extraction pulls bitter tannins and astringent phenolic compounds. The 20–30 second press time and the bloom-first technique exist specifically to prevent this.
The Bloom Releases CO₂
Fresh coffee beans off-gas CO₂ — a byproduct of the roasting process that continues for days to weeks. When you pour hot water over fresh grounds, CO₂ escapes rapidly, which can create uneven extraction channels if you skip the bloom step. The 20–30 second bloom — a small amount of water just covering the grounds — lets CO₂ escape before the main brew, resulting in more even saturation and a more consistent extract.
For espresso concentrate specifically, where you’re using a higher dose in a small chamber, a thorough bloom stir is important. Dry pockets of coffee in the center of the puck will under-extract; over-wet edges over-extract. Stir during bloom to saturate evenly.
Water Temperature Affects Compound Solubility
Higher water temperature dissolves a broader spectrum of compounds from coffee. Acids, sugars, lipids, and bitter compounds all have different solubility thresholds. For concentrate, where we want maximum flavor intensity in minimum water volume, 195–205°F (91–96°C) is the optimal range — hot enough to dissolve desirable compounds quickly, cool enough to suppress excessive bitter extraction.
If you’re using a lighter roast, lean toward the higher end (202–205°F). For darker roasts, the lower end (195–200°F) prevents adding more bitterness to already bold beans. Both work well in the AeroPress — the plastic-and-rubber construction actually maintains heat efficiently over a short brew time.
🔬 The pressure question: The AeroPress generates roughly 0.35–0.75 bars of manual pressure during pressing — far below the 9 bars of a real espresso machine. This is enough to push water through a fine coffee bed faster than gravity alone, but not enough to create true emulsification. That’s why AeroPress concentrate lacks genuine crema and won’t produce the same mouthfeel as machine espresso when consumed straight. In a milk drink, this distinction vanishes.
Gear You Need
AeroPress Original — best baseline
The standard model is the simplest starting point for concentrated recipes and keeps the workflow familiar.
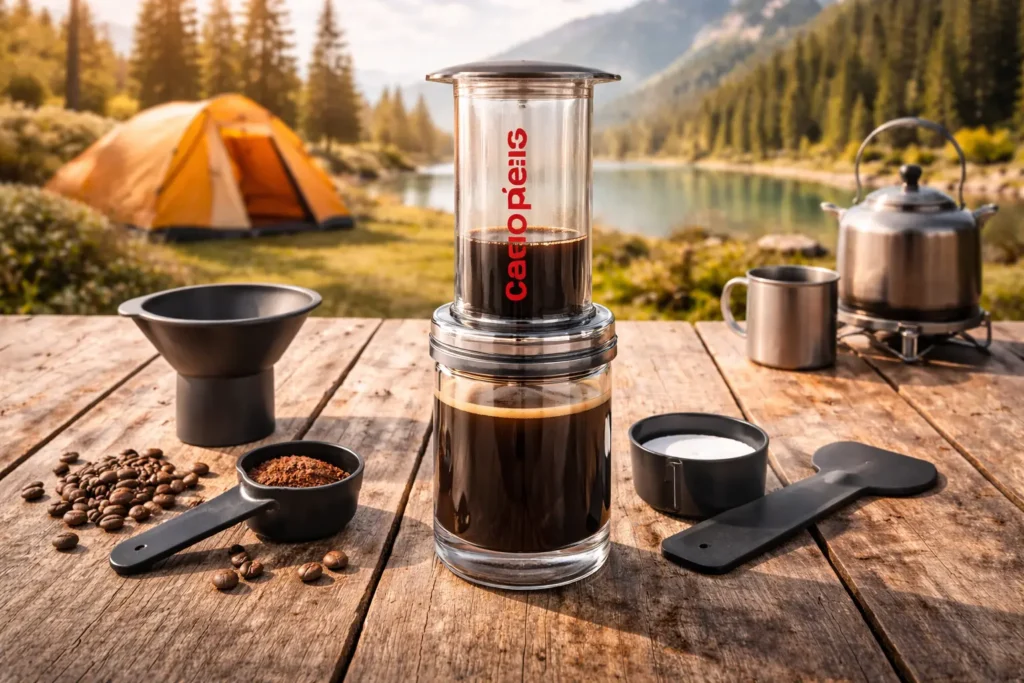
AeroPress Clear — transparent chamber option
A clear chamber adds visibility while keeping the same basic brewing mechanics.
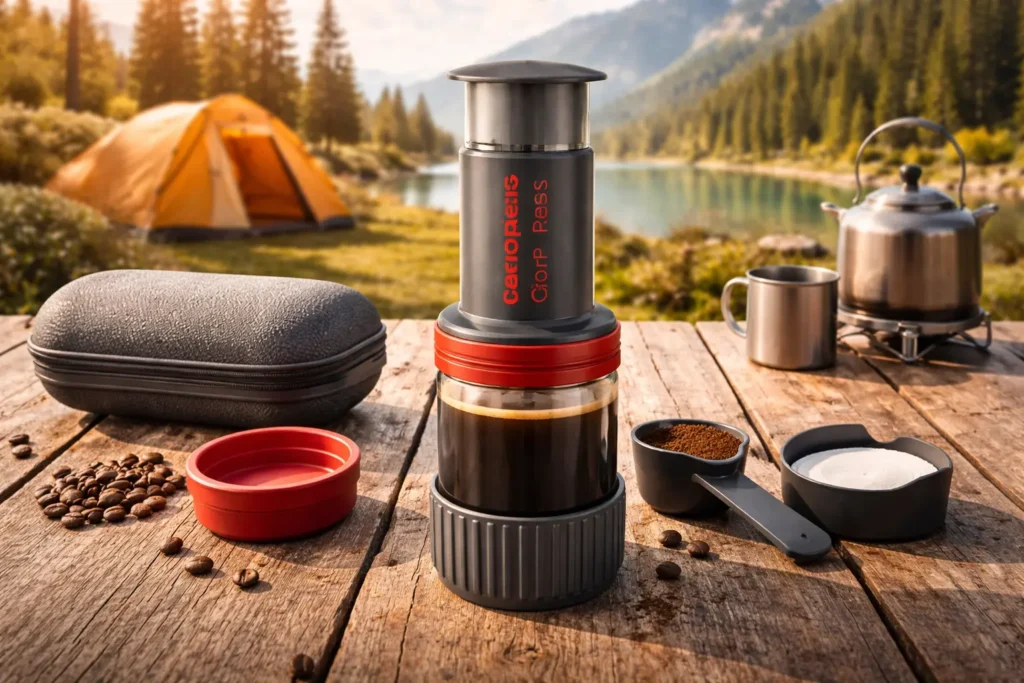
AeroPress Go — travel-focused option
A compact version for concentrate recipes away from home, with slightly less working volume.
KINGrinder K6 — manual grinder for concentrate
The fine-to-medium-fine adjustment range gives you useful control over press resistance and extraction.
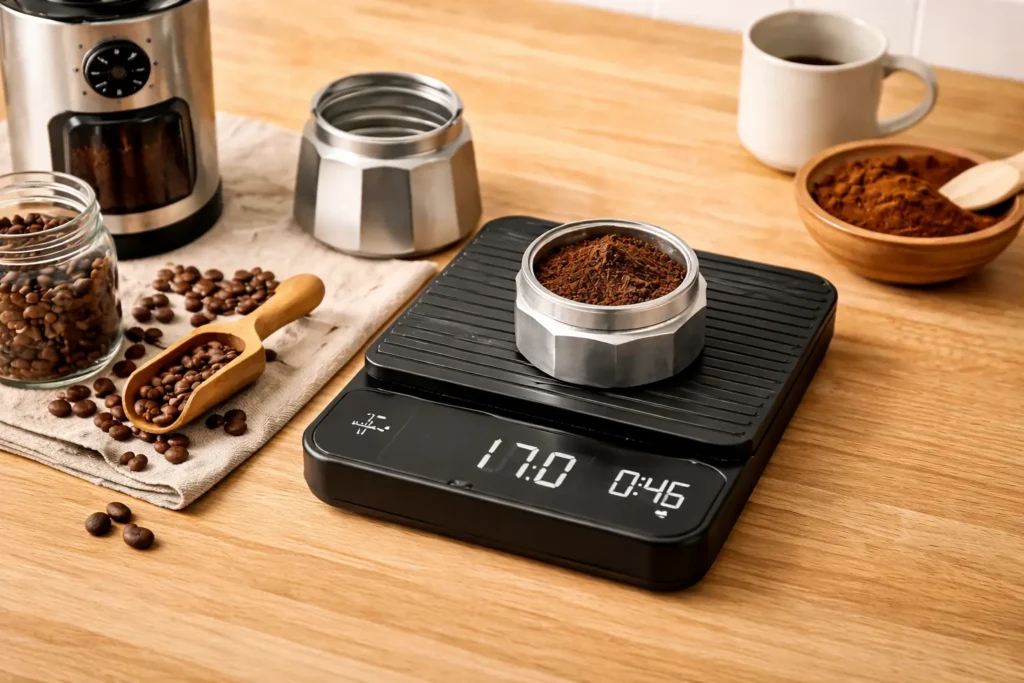
Digital coffee scale — ratio control
Concentrate recipes use small water doses, so weighing coffee and water keeps strength changes deliberate and repeatable.
Grind Size Guide for AeroPress Espresso Concentrate
Grind size is the variable with the highest impact on concentrate quality. Use this reference chart to find your starting point, then adjust based on taste and press resistance.
| Grind Description | Visual Reference | K6 Clicks (from zero) | Result in Cup | Use This If… |
|---|---|---|---|---|
| Very fine | Powdered sugar | 42–46 clicks | Very slow press, high resistance, likely bitter | Only if you’re using coarser dose or shorter steep |
| Fine (target) | Table salt / fine sea salt | 50–58 clicks ✅ | Rich, intense, good body — correct for concentrate | Starting point for all concentrate recipes |
| Medium-fine | Coarse salt | 62–70 clicks | Lighter body, less intense, slightly sour | If 50–58 clicks produces too much bitterness |
| Medium | Sand | 72–85 clicks | Thin, watery, more like strong coffee than concentrate | Not suitable for espresso concentrate |
💡 Dialing in your grind: Start at 54 clicks on the K6. If press resistance is so high it’s uncomfortable, go to 58–62 clicks. If the concentrate tastes weak or sour, drop to 50 clicks. Always adjust by 2–3 clicks at a time and hold every other variable constant. Most brewers find their permanent setting within 3–4 brews.
Brew Ratio Chart
Espresso concentrate ratio is coffee weight to total water weight. These are the proven ranges for AeroPress concentrate, from a more restrained everyday shot to a full double-strength concentrate for strong lattes.
| Recipe Name | Coffee | Water | Ratio | Yield | Best For |
|---|---|---|---|---|---|
| Lighter concentrate | 15g | 60ml | 1:4 | ~50ml | Solo drinkers, gentle concentration, cortado-style |
| Standard concentrate ✅ | 18g | 60ml | 1:3.3 | ~50ml | Everyday lattes and cappuccinos — best starting point |
| Strong concentrate | 20g | 55ml | 1:2.75 | ~45ml | Large lattes (8–10oz milk), iced lattes that need to stand up to ice dilution |
| Double shot equivalent | 20g | 70ml | 1:3.5 | ~60ml | Two small drinks, sharing, larger milk ratios |
📐 A note on yield: You will always lose some water to absorption by the coffee grounds — typically 2–3ml per gram of coffee. An 18g dose absorbs approximately 35–40ml, so 60ml in produces roughly 20–25ml of liquid concentrate plus the absorbed amount. Add more water if you want a larger yield without changing intensity. Use these numbers as starting points, not exact targets.
Master Recipe: Standard Method AeroPress Espresso Concentrate
This is the go-to recipe for most brewers — reliable, easy to reproduce, and excellent for lattes and cappuccinos. The standard (non-inverted) method is simpler to learn and produces a clean, bright concentrate with good body.
Recipe: Standard AeroPress Espresso Concentrate
AT A GLANCE
☕ Dose: 18g coffee
💧 Water: 60ml at 205°F
⏱️ Total time: ~2 minutes
⚙️ Grind: Fine (K6: 54 clicks)
📐 Ratio: 1:3.3
🫙 Yield: ~45–50ml concentrate
- Heat your water to 205°F (96°C). If you don’t have a thermometer, bring to boil and wait 30 seconds.
- Grind 18g of coffee fine — table salt texture. KINGrinder K6: 54 clicks from zero.
- Rinse the paper filter in the filter cap with hot water, then discard the rinse water. This removes paper taste and preheats the cap.
- Assemble AeroPress in standard position — filter cap on, sitting on your mug.
- Add coffee to the chamber. Tap gently to level the bed.
- Start your timer. Bloom: Pour 40ml of water over the grounds. Stir thoroughly — 8–10 seconds — to saturate every particle. Wait until the 0:30 mark.
- At 0:30, pour remaining water to reach 60ml total. Stir once more.
- At 1:00, begin pressing. Apply slow, steady, downward pressure. The full press should take 20–30 seconds. Stop at the first hiss of air — don’t press through it.
- Total time at finish: 1:20–1:30. Your concentrate is ready.
Inverted Method: More Body, More Control
The inverted method flips the AeroPress upside-down during brewing so the plunger is on the bottom, sealing the chamber. This prevents any dripping through the filter during steep, which gives you complete control over contact time and produces a fuller-bodied concentrate with more intensity. The technique looks more dramatic than it is — after a few brews it becomes second nature.
Recipe: Inverted AeroPress Espresso Concentrate
AT A GLANCE
☕ Dose: 18–20g coffee
💧 Water: 60–70ml at 200°F
⏱️ Total time: ~2:30
⚙️ Grind: Fine (K6: 54–58 clicks)
🫙 Yield: ~50–60ml
🏆 Result: Fuller body, more intense
- Flip the AeroPress upside-down — plunger inserted just 1–2cm into the chamber, opening facing up. Set it on a stable surface.
- Add 18–20g of fine-ground coffee into the inverted chamber.
- Bloom: Pour 40ml of 200°F water, stir 8 seconds, wait until 0:30.
- Pour remaining water to 60–70ml total. Stir once.
- Steep for 1:00–1:30 total from first pour. Longer steep = more body and intensity.
- Attach the rinsed filter cap firmly. Place your mug on top of the AeroPress.
- In one confident movement, flip the entire assembly so the mug is now on the bottom and the AeroPress is above it. The filter cap is now at the bottom, ready to press through.
- Press slowly and steadily over 20–30 seconds. Stop at first hiss.
🔬 Standard vs Inverted — when to use which: Standard method produces a slightly brighter, cleaner concentrate with less risk of spill during the flip. Inverted gives you a fuller, richer body and complete contact time control. If you’re making lattes, either works beautifully. If you want the concentrate to stand up in a 10oz drink with a lot of milk, the inverted method’s extra body helps. New to AeroPress? Start standard and move to inverted once you’re comfortable with the brewer.
Using Your Concentrate: Lattes, Cappuccinos, and Iced Drinks
Once you have ~50ml of AeroPress concentrate, you have the base for any espresso drink. Here’s how to build each one.
| Drink | Concentrate | Milk | Milk Texture | Method |
|---|---|---|---|---|
| Latte | 50ml | 4–5oz | Lightly steamed / frothed — silky, minimal foam | Pour warm or frothed milk over concentrate. Stir gently. |
| Cappuccino | 50ml | 3oz | Equal parts foam and steamed — airy, thick | Froth milk to stiff foam. Spoon foam over concentrate. Dust with cocoa. |
| Flat white | 50ml | 3oz | Microfoam — very silky, no visible bubbles | Use a steam wand or quality frother. Pour over concentrate at an angle. |
| Iced latte | 50ml | 5–6oz cold milk | Cold — no frothing needed | Add ice to glass, pour concentrate, add cold milk. Stir. |
| Americano | 50ml | — | — | Top concentrate with 4–5oz hot water. Add to mug before pressing for best crema retention. |
| Cortado | 50ml | 2oz steamed milk | Lightly steamed, minimal foam | Equal parts concentrate and warm milk. Serve in small glass. |
| Iced batch concentrate | 2–3x recipe | Varies | Cold | Brew, refrigerate up to 5 days. Pull as needed over ice. |
💡 Milk temperature tip: For lattes at home without a steam wand, heat milk in a small saucepan to 150°F (65°C) — hot to touch but not scalding. Then use a handheld frother for 15–20 seconds to introduce texture. This produces a serviceable approximation of steamed milk that works well with AeroPress concentrate. For better results, a dedicated milk frother or Aeroccino makes a meaningful difference.
Troubleshooting Matrix
AeroPress concentrate problems almost always trace back to one of four variables: grind, dose, temperature, or press technique. Use this matrix to identify and fix the issue without rebuilding your whole recipe from scratch.
| Problem | Likely Cause | Fix |
|---|---|---|
| Concentrate tastes bitter or harsh | Grind too fine, water too hot, press too slow, or steep too long | Coarsen grind 3–4 clicks; reduce water temp to 195–200°F; reduce steep time by 15 seconds; press in 20 seconds, not 40 |
| Concentrate tastes sour or thin | Grind too coarse, water too cool, or under-extracted | Fine the grind 3–4 clicks; raise water temp to 202–205°F; extend steep time to 1:30 before pressing |
| Press resistance is very high (nearly impossible to push) | Grind too fine, too much coffee dose, or uneven grounds distribution | Coarsen grind to 58–62 clicks; reduce dose to 16g; stir grounds to level them before pressing |
| Concentrate is too weak / watery | Grind too coarse, dose too low, or too much water used | Fine the grind 3–4 clicks; increase dose to 20g; reduce water to 55ml |
| Concentrate has no body | Standard method + coarse grind — not enough dissolved solids | Switch to inverted method; fine the grind; extend steep to 1:30 |
| Coffee drips through filter cap during inverted method flip | Filter cap not fully tightened or filter not sealed flat | Ensure cap is screwed on firmly; re-rinse and re-seat the filter flat before attaching cap; flip more quickly |
| Concentrate tastes papery | Paper filter not rinsed before brewing | Always pre-rinse filter with hot water and discard rinse water before adding coffee |
| Inconsistent results day to day | Grind size variation, inconsistent water weight, or water temperature variation | Use a scale for both coffee and water; use a temperature-controlled kettle; zero out K6 and re-set click count each time |
| Latte tastes weak even with concentrate | Too much milk for the concentrate volume, or concentrate not strong enough | Reduce milk to 4oz; increase dose to 20g; or reduce water to 55ml for stronger concentrate |
| AeroPress leaks during press | Rubber seal worn or not fully inserted | Replace the rubber plunger seal (available separately); ensure plunger is inserted straight and parallel before pressing |
Practical Decision Guide: Which Setup Is Right for You?
| Your situation | Recommended Setup | Why |
|---|---|---|
| You want to start immediately with what you have | Any AeroPress + blade grinder + tablespoon measure | Works — results will be inconsistent but drinkable. Upgrade to burr grinder when ready. |
| Best concentrate quality, lowest total budget | AeroPress Original + KINGrinder K6 + Timemore scale | This combination produces genuinely excellent concentrate at a fraction of espresso machine cost |
| You travel frequently and want espresso on the road | AeroPress Go + KINGrinder K6 | Everything packs into the travel mug; K6 is lightweight and compact enough for a bag |
| You want to dial in your recipe precisely by sight | AeroPress Clear + KINGrinder K6 + Timemore scale | Clear chamber lets you watch bloom, saturation, and press — useful during recipe development |
| You primarily want lattes and cappuccinos at home | AeroPress Original + KINGrinder K6 + Aeroccino or handheld frother | Concentrate handles the espresso base; dedicated frother handles milk — better than any all-in-one approach at this price |
| You already own an AeroPress and want better consistency | Add KINGrinder K6 + Timemore scale | The two highest-impact upgrades are always grinder and dose accuracy — both deliver immediately |
| You want to make iced lattes in batch | AeroPress Original + any burr grinder + refrigerator container | Brew 3x recipe, refrigerate up to 5 days, pull over ice as needed — the most convenient morning routine possible |
FAQs: AeroPress Espresso Concentrate
Can the AeroPress actually make espresso?
Not technically. True espresso requires 9 bars of sustained extraction pressure. The AeroPress generates roughly 0.35–0.75 bars of manual pressure. What it does produce — using a fine grind and low water volume — is a rich, concentrated coffee that closely mimics espresso’s body and intensity. Specialty coffee professionals call this ‘espresso-style concentrate.’ In lattes, cappuccinos, and iced drinks, the difference from machine espresso is undetectable to most drinkers. Straight shot comparisons side-by-side reveal differences in crema and mouthfeel.
What grind size should I use for AeroPress espresso concentrate?
Use a fine grind — similar in texture to table salt or fine sea salt. Too fine and you’ll get over-extraction (bitter concentrate) and very high press resistance. Too coarse and the concentrate will be thin and sour. On the KINGrinder K6, start at 54 clicks from zero and adjust from there — coarser (58–62 clicks) if the concentrate is bitter or pressing is very difficult; finer (46–50 clicks) if the concentrate tastes weak or sour.
What ratio should I use for AeroPress espresso concentrate?
The standard starting point is 18g of coffee to 60ml of water (approximately 1:3.3). This produces roughly 45–50ml of concentrate. For a stronger, more intense concentrate for large lattes, use 20g to 55ml (1:2.75). For a milder concentrate, use 15g to 60ml (1:4). Always weigh both coffee and water — scoops and eyeballing are too imprecise at these small volumes.
Which AeroPress model is best for espresso concentrate?
All three current AeroPress models — Original, Clear, and Go — produce identical concentrate. The Original is the best value and most practical for home use. The Clear adds a transparent body for visual feedback during brewing, which is useful when dialing in a recipe. The Go is the travel model with a smaller chamber that still handles the concentrate recipe but feels tighter at an 18–20g dose. For home espresso concentrate use, the Original is the default recommendation.
Can I use AeroPress concentrate to make lattes?
Yes — AeroPress concentrate is one of the best ways to make lattes without an espresso machine. Brew 45–60ml of concentrate using a fine grind and 60ml of water, then add 4–5oz of steamed or frothed milk on top. The concentrate has enough intensity and body to stand up to milk without becoming watery. For best milk texture, use a handheld frother, Aeroccino, or steam wand.
Standard or inverted method for AeroPress espresso concentrate?
Both work well. The standard method is simpler, safer (no flip), and produces a slightly cleaner, brighter concentrate. The inverted method allows complete control over contact time with no dripping through the filter during steep, producing a fuller-bodied, more intense concentrate. For new AeroPress users, start with standard. Once you’re comfortable with the brewer, try inverted — most experienced concentrate brewers prefer it for the added body and control.
How much coffee do I use for AeroPress espresso concentrate?
Use 18–20g per serving. This is higher than a standard AeroPress recipe (which typically uses 11–15g) because the goal is maximum concentration in a small water volume. Always weigh with a scale — volume measurements (scoops) vary significantly with grind size and are not reliable enough for a tight recipe like espresso concentrate.
Does AeroPress espresso concentrate have crema?
Sometimes, but not reliably or consistently. AeroPress can produce a small foam layer on concentrate, particularly with freshly roasted beans. This is CO2 outgassing from fresh coffee — not the pressurized emulsification that creates true espresso crema. It dissipates quickly and doesn’t contribute the same flavor and texture as machine crema. Using very fresh beans (7–21 days post-roast) and the inverted method maximizes whatever foam does appear.
How long should I press the AeroPress for espresso concentrate?
Press slowly and steadily over 20–30 seconds. Faster pressing forces water through too quickly and under-extracts. Stop pressing the moment you hear the first hiss of air — this signals you’ve pushed through all the liquid and are now forcing air through the puck, which adds bitterness. Total brew time from first water contact to end of press should be approximately 1:20–1:30 for the standard method and up to 2:30 for the inverted method.
Can I make iced lattes with AeroPress concentrate?
Yes — AeroPress concentrate is excellent for iced lattes. Brew your concentrate and pour it directly over a glass of ice; the small water volume means minimal dilution even over a full ice load. Add 5–6oz of cold milk and stir. Alternatively, brew a triple batch and refrigerate the concentrate for up to 5 days — pull a shot over ice each morning without any brewing. AeroPress concentrate holds up very well refrigerated and doesn’t develop the harsh off-flavors that longer cold-brew methods sometimes produce.
CoffeeGearHub product shortlist
Keep the AeroPress setup together
Use these CoffeeGearHub guides for the next brewing or buying step.
Continue Learning
Build the concentrate