
Espresso Brew Guide
Editorial standards: this guide separates manufacturer-specific instructions from general espresso starting references. Dose, ratio, time, temperature, and grinder settings are presented as tools for repeatability rather than universal targets.
At a glance
What this guide covers
Espresso variables, essential equipment, machine and grinder workflows, a step-by-step brew process, dial-in, extraction, roast tendencies, milk steaming, drinks, troubleshooting, and buying guidance.
Editorial analysis
Build a repeatable baseline before chasing “perfect” numbers
The numbers are useful because they let you repeat an experiment. They are not the goal. A good workflow controls dose, beverage yield, grind, puck preparation, and machine routine; taste decides whether the shot is worth repeating.
The 30-Second Answer
For repeatable home espresso, use a basket-appropriate dose, an espresso-capable grinder, a scale, and consistent puck preparation. Start with a sensible ratio such as 1:2 when you need a baseline, record how long it takes to reach that yield, taste the shot, and change one variable at a time. Shot time, temperature, and grinder numbers are diagnostics and references—not universal rules.
Espresso Brew Guide Fundamentals
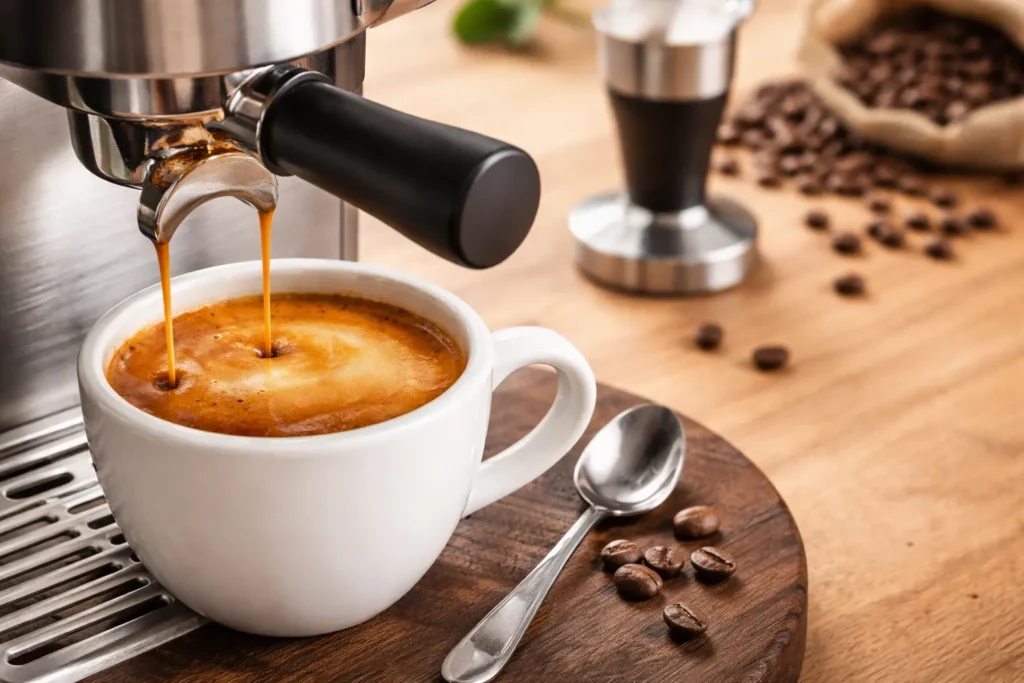
Espresso is a concentrated brewing method that sends hot water through a compact coffee puck under pressure. The practical challenge is not simply “making pressure.” It is producing a puck with controlled resistance and then stopping the extraction at a beverage yield that tastes balanced for the coffee.
The machine controls water delivery, temperature behavior, and steam workflow. The grinder controls one of the main flow variables. The basket determines a useful dose range. Puck preparation affects how evenly water moves through the coffee. The scale gives you a repeatable recipe. All of those pieces work together.
Espresso Variables: What Each One Actually Changes
| Variable | What it changes | How to use it |
|---|---|---|
| Dose | Puck depth, coffee mass, headspace | Choose a dose that fits the basket and keep it stable while learning |
| Yield | Beverage concentration and extraction endpoint | Use a repeatable target; adjust longer/shorter by taste |
| Grind | Flow resistance through the puck | Finer generally slows flow; coarser generally speeds it |
| Time | Describes how quickly the target yield was reached | Use as a diagnostic, not a universal score |
| Temperature | Extraction behavior and flavor | Adjust after grind, dose, yield, and prep are reasonably stable |
| Puck preparation | Evenness of flow | Distribute consistently and tamp level |
| Water | Flavor and machine scaling/corrosion risk | Use water appropriate for both taste and the machine maker’s guidance |
Equipment Overview: What You Actually Need
- Espresso machine: choose a workflow you understand and will maintain.
- Espresso-capable burr grinder: or a machine with an integrated grinder that offers enough fine adjustment.
- Scale: 0.1g readability is useful for dose and beverage yield.
- Tamper: sized for the exact basket.
- Milk pitcher: only if milk drinks are part of your routine.
- Cleaning tools/products: follow the machine maker’s cleaning and descaling guidance.
Two beginner workflows
Separate grinder vs integrated grinder
Both can teach the same fundamentals. The choice is whether you want the grinder to be a separate upgradeable component or part of the machine.
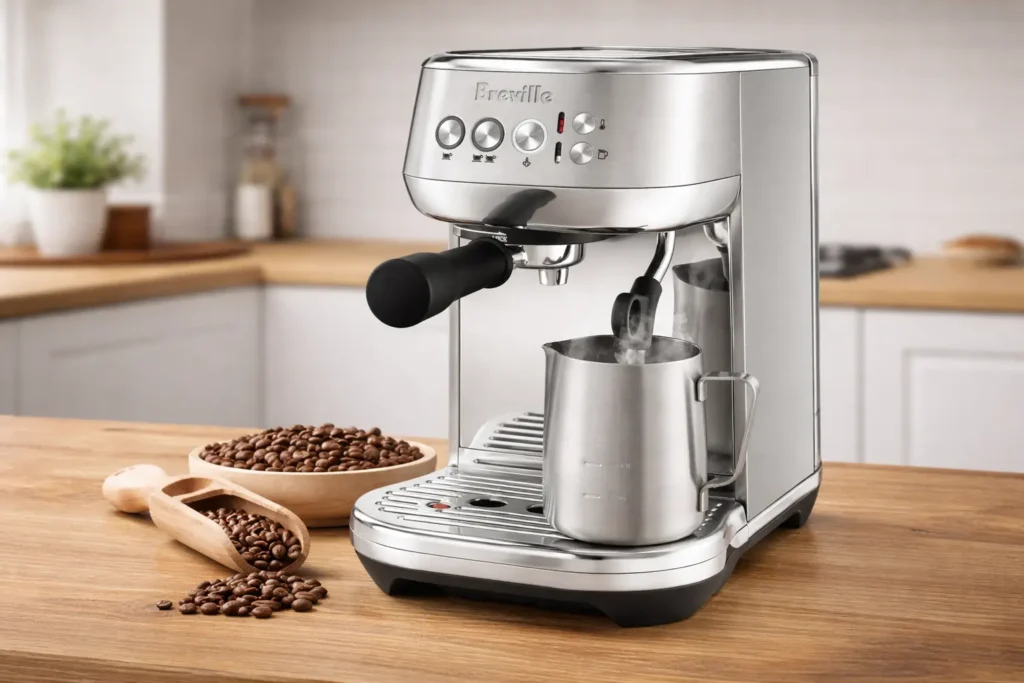 Breville Bambino PlusCompact assisted semi-automatic; pair it with a separate grinder you can choose independently.Check current Amazon listing →
 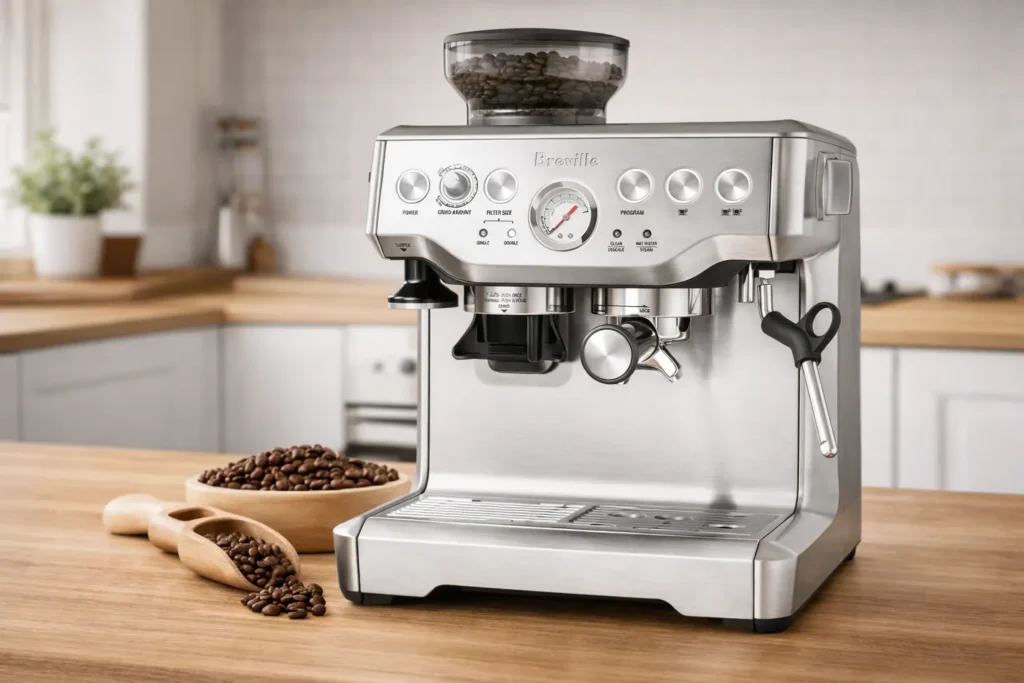 Breville Barista ExpressIntegrated grinder and portafilter workflow in one appliance.Check current Amazon listing →
Affiliate disclosure: Amazon links may earn CoffeeGearHub a commission at no additional cost to you. Prices and availability can change.
Current Equipment Examples
These products represent different beginner workflows. They are examples, not universal winners.
Breville Bambino Plus — compact assisted semi-automatic
A good fit when you want a small portafilter machine, fast daily workflow, and a separate grinder. The assisted milk system can reduce steaming friction while still letting you learn dose, yield, grind, and puck preparation.
Breville Barista Express — integrated-grinder workflow
This all-in-one format reduces the number of separate purchases while keeping the user responsible for grinder adjustment, puck preparation, shot yield, and milk steaming.
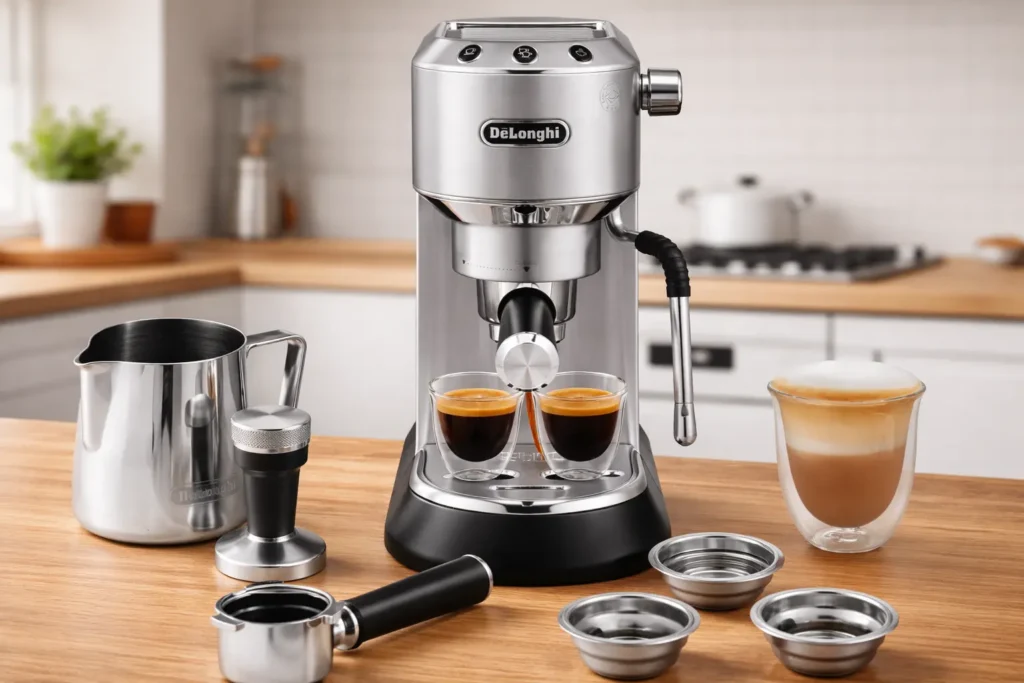
De’Longhi Dedica Arte — narrow counter-footprint option
The Dedica format suits kitchens where width matters. Verify basket type and accessory dimensions for the exact model before buying tampers or baskets.
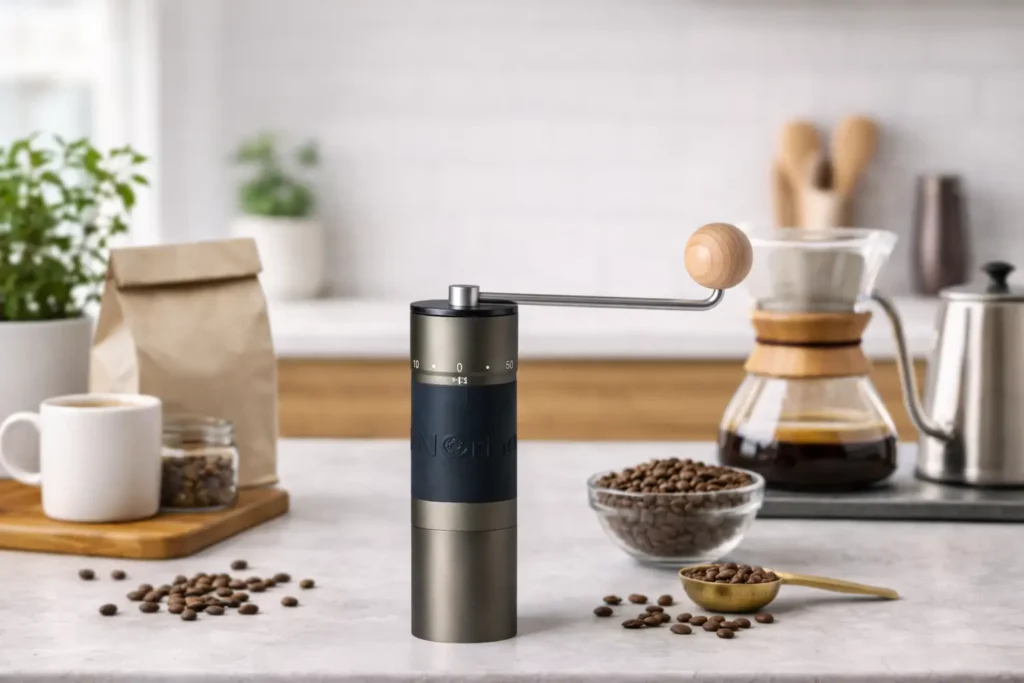
KINGrinder K6 — manual grinder option
The K6 gives users fine external adjustment without an electric motor. Use its manufacturer reference range as a starting point, then re-dial the actual coffee rather than relying on one universal click number.
Step-by-Step Espresso Brew Guide
1. Warm the machine according to its design
Follow the manufacturer’s warm-up guidance. Fast-heating systems and traditional boiler machines behave differently. Use the same routine each session so thermal behavior is more repeatable.
2. Choose a basket-appropriate dose
Eighteen grams is common in many double baskets, but it is not universal. Use a dose that leaves appropriate headspace in the basket and keep it stable while dialing in.
3. Grind fresh
Start within the grinder maker’s espresso range when one is published. Do not translate click counts or dial numbers between grinder models.
4. Distribute and tamp level
Break up obvious clumps, create an even bed, then tamp level until the puck is fully compressed. You do not need to hit a specific kilogram-force target.
5. Brew on a scale
Place the cup on the scale and tare. A ratio around 1:2 is a useful neutral starting point for many coffees. Stop at the target beverage yield and record how long it took to get there.
6. Taste before changing anything
Time tells you about flow. Taste tells you whether the recipe works. Record both before making the next adjustment.
7. Change one variable
If flow is clearly too fast and the shot tastes thin or sharp, try finer. If flow is very slow and the shot tastes harsh or drying, try coarser. Once flow is controllable, use yield or temperature to refine the cup.
A Repeatable Dial-In System
Do not aim to finish dialing in within a fixed number of shots. The goal is to make each test informative.
- Fix dose, target yield, basket, and puck preparation.
- Pull one diagnostic shot and record time and taste.
- Correct obvious flow problems with grind.
- Once flow is repeatable, change yield if the shot is too concentrated, too dilute, too sharp, or too harsh.
- Adjust temperature later if the machine allows it and the rest of the recipe is stable.
- Log the successful recipe and use it as the starting point for the next session.
Grind Size: Control Flow, Not a Universal Setting
Finer grind generally increases puck resistance; coarser grind generally reduces it. That makes grind the cleanest flow-control variable when dose, target yield, and puck preparation are stable.
Use the grinder maker’s espresso range when available. For a complete directional guide, see Espresso Grind Size. For the full adjustment workflow, see How to Dial In Espresso.
Extraction Science: What the Numbers Can and Cannot Tell You
Dose, yield, and time describe the recipe and flow. They do not directly measure whether the espresso is delicious. Two shots can have the same ratio and time but taste different because of particle distribution, puck preparation, water, temperature, coffee, and channeling.
Use numbers to make the experiment repeatable. Use taste to decide whether the experiment succeeded.
Roast Level and Coffee Selection
Roast level changes solubility and physical structure, so it can affect the useful grind, yield, and temperature. Avoid fixed temperature charts by roast category.
| Roast tendency | Possible first experiment | Watch for |
|---|---|---|
| Darker | Standard-to-shorter yield; moderate temperature | Harsh roast bitterness, dryness |
| Medium | Conventional ratio and machine default temperature | Balance of sweetness, acidity, body |
| Lighter | Standard-to-longer yield; potentially more heat | Sharp acidity, under-developed sweetness |
These are tendencies only. Re-dial the actual coffee.
Milk Steaming: Build Texture, Not a Stopwatch Routine
Milk steaming should produce glossy, integrated microfoam rather than large dry bubbles.
- Start with cold milk and a pitcher sized for the drink.
- Purge the steam wand according to the machine instructions.
- Introduce air gradually with the tip near the surface.
- Once you have enough air, position the tip to create a rolling vortex that integrates the foam.
- Stop before the milk becomes scalding; many baristas work in the low-to-mid 60s °C, but use the milk, pitcher, and machine as guides.
- Wipe and purge the wand immediately after use.
Common Espresso Drink Structures
Drink names and café standards vary, so use these as general structures rather than rigid recipes.
| Drink | General structure | Adjustment idea |
|---|---|---|
| Espresso | Straight concentrated shot | Adjust yield for intensity and balance |
| Americano | Espresso plus hot water | Add water after brewing so the espresso recipe stays controlled |
| Cappuccino | Espresso plus a smaller volume of textured milk and foam | Use more aeration than a flat white/latte |
| Flat white | Espresso plus relatively thin, integrated microfoam | Use less aeration and a smaller milk volume |
| Latte | Espresso plus a larger milk volume | If coffee disappears, review espresso concentration or milk amount |
Troubleshooting Espresso Problems
| Problem | Check first | Useful next test |
|---|---|---|
| Fast, thin shot | Grind, dose, channeling | Verify prep, then grind finer |
| Slow or choked shot | Grind, overdose, blocked basket/group | Check basket/cleanliness, then grind coarser |
| Sour despite controlled flow | Yield, temperature, coffee, channeling | Try a longer yield or higher temperature one change at a time |
| Harsh/drying despite controlled flow | Yield, temperature, roast, cleanliness | Try a shorter yield or lower temperature |
| Shot varies every pull | Dose, distribution, tamp, grinder retention, warm-up | Standardize workflow before changing equipment |
| Milk has large dry bubbles | Too much air or weak vortex | Introduce less air and integrate sooner |
Choosing Equipment by Workflow, Not a Fixed Budget Tier
| Workflow | What to prioritize | Typical direction |
|---|---|---|
| Fast beginner setup | Quick startup, clear controls, forgiving milk workflow | Compact assisted semi-automatic + separate grinder |
| One-appliance setup | Integrated grinder and portafilter workflow | All-in-one semi-automatic |
| Traditional learning platform | Manual steam, serviceability, standard basket ecosystem | Traditional semi-automatic + dedicated grinder |
| Convenience-first | Automated grinding/brewing/milk | Super-automatic |
| High milk-drink volume | Steam power and reduced brew/steam waiting | Assisted machine, heat exchanger, or dual boiler depending on control preference |
Compare the total setup rather than only the machine price. A machine without a grinder needs one; an all-in-one or super-automatic bundles more components into the purchase.
Quick Reference: Espresso Brew Checklist
- Use a dose that fits the basket.
- Start with a repeatable yield; 1:2 is a useful neutral reference, not a rule.
- Record time to target yield, but judge by taste.
- Move grind finer/coarser to correct obvious flow problems.
- Tamp level; do not chase a force number.
- Use manufacturer warm-up and cleaning guidance.
- Change one variable at a time.
- Write down the recipe that worked.
Final Takeaway
Good home espresso comes from a repeatable system, not one magic recipe. Control the basket dose, grind, beverage yield, puck preparation, machine routine, and cleanliness. Use time to understand flow and taste to decide whether the shot is balanced.
Once the baseline is repeatable, adjustments become much easier to understand—and equipment upgrades become easier to justify because you can name the limitation you are trying to solve.
FAQs: Espresso Brew Guide
What dose should I use?
What grind size is best for espresso?
What is the ideal extraction time?
What is a good brew ratio?
Why does my espresso taste sour?
Why does my espresso taste bitter or drying?
Do I need a separate grinder?
How long should I warm up the machine?
CoffeeGearHub shortlist
Research the setup before leaving the site
Use these CoffeeGearHub pages for a machine, grinder, and measurement reference.
Continue Learning
In this guide
- The 30-Second Answer
- Espresso Brew Guide Fundamentals
- Espresso Variables: What Each One Actually Changes
- Equipment Overview: What You Actually Need
- Current Equipment Examples
- Step-by-Step Espresso Brew Guide
- A Repeatable Dial-In System
- Grind Size: Control Flow, Not a Universal Setting
- Extraction Science: What the Numbers Can and Cannot Tell You
- Roast Level and Coffee Selection
- Milk Steaming: Build Texture, Not a Stopwatch Routine
- Common Espresso Drink Structures
- Troubleshooting Espresso Problems
- Choosing Equipment by Workflow, Not a Fixed Budget Tier
- Quick Reference: Espresso Brew Checklist
- Final Takeaway
- FAQs: Espresso Brew Guide
- Continue Learning