
Espresso Brew Ratio
Editorial standards: this guide uses established espresso measurement principles and practical dial-in logic. Ratio ranges are presented as starting references, not universal prescriptions.
At a glance
What this guide covers
How to calculate espresso ratio, why weight matters, dose-and-yield reference tables, short versus extended ratios, shot-time interpretation, roast and milk-drink tendencies, troubleshooting, and the tools that make ratio repeatable.
Editorial analysis
Ratio is a framework—not a score to hit
A 1:2 ratio is a useful baseline for many coffees, but the right endpoint depends on the coffee, grinder, basket, temperature, machine, water, and taste. Ratio tells you what went in and what came out; it does not by itself tell you whether extraction was good.
The 30-Second Answer
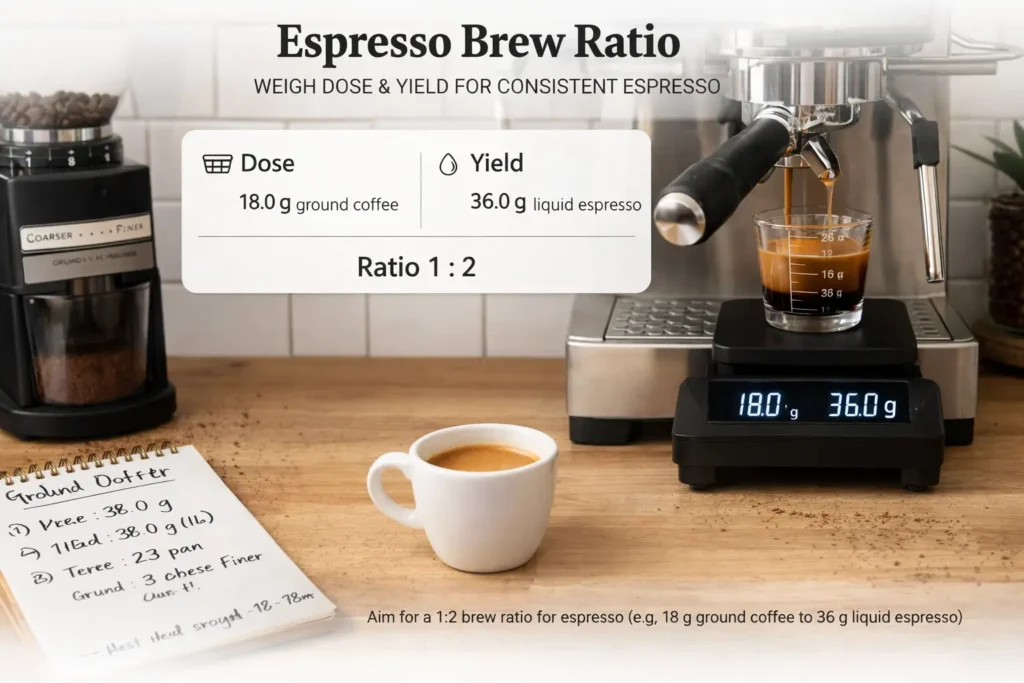
Espresso brew ratio is dry dose compared with beverage yield. Divide yield by dose: 36g out from 18g in is 1:2. Use weight, not volume. Start with a sensible baseline, taste the shot, then adjust yield and grind one variable at a time rather than forcing every coffee into the same ratio or time window.
What Espresso Brew Ratio Means
Espresso brew ratio is the relationship between two weights: the weight of dry coffee in the portafilter basket (the dose) and the weight of liquid espresso that flows into the cup (the yield). It is written as 1:X, where X is the yield multiplier. A 1:2 ratio means the yield is twice the dose — 18g of coffee produces 36g of espresso. A 1:1.5 ratio means the yield is 1.5 times the dose — 18g produces 27g. A 1:3 ratio means the yield is three times the dose — 18g produces 54g.
The ratio matters because it is the primary determinant of two properties in the finished shot simultaneously. First, concentration — how many dissolved coffee solids are present per gram of liquid. A shorter ratio produces more concentrated espresso; a longer ratio produces more dilute espresso. Second, total extraction yield — what percentage of the coffee’s soluble mass has been extracted into the liquid. More water through the same puck often increases extraction while lowering beverage concentration, but the sensory result depends on grind, temperature, flow, coffee, and puck behavior. Ratio is the control for both these properties at once, which is why changing it changes the fundamental character of the shot rather than simply making it stronger or weaker.
🔬 Ratio is not the same as strength. In casual usage, “strong espresso” means intense and concentrated. In technical terms, strength (total dissolved solids — TDS) is affected by ratio but also by extraction yield and dose weight independently. Two shots at the same 1:2 ratio but extracted at different grind settings and temperatures will have different effective TDS because they pulled different percentages of soluble mass from the grounds. Ratio tracks the dose-to-yield relationship; TDS and extraction percentage describe the quality of what happened during extraction. Ratio is the input you control; the tasting experience is the output you assess.
Why We Always Measure Espresso Ratio by Weight
This is one of the most practically important technical points in home espresso: espresso yield must be measured by weight on a scale, not by volume in a measuring cup or shot glass, and never by shot time alone. The reason is crema — the reddish-brown foam layer on the surface of a freshly pulled shot.
Crema makes volume an unreliable way to track espresso yield because its gas content and density vary with coffee, roast, freshness, recipe, and extraction. Two shots that look similar in a shot glass can weigh differently. A scale avoids that ambiguity by measuring the liquid output directly.
Shot time has the same problem in the other direction: stopping the pump at exactly 30 seconds regardless of yield produces shots of dramatically different ratios depending on flow rate, which changes with every grind adjustment. A shot that flows slowly may yield only 28g in 30 seconds at a fine grind; a shot that flows quickly may yield 46g in 30 seconds at a coarser grind. Neither is a 1:2 ratio despite having the same time. Time tells you about flow rate — not about the ratio you achieved.
⚖️ A repeatable measurement setup: place the cup on a scale, tare it, and stop the shot at the target beverage weight. Weigh the dry coffee dose separately. This gives you the two numbers needed to calculate and repeat brew ratio.
How to Calculate Your Espresso Ratio
Espresso ratio is calculated by a simple division: yield divided by dose. The result gives you the ratio multiplier X in the 1:X notation. To go the other direction — finding your target yield from a known dose and desired ratio — multiply dose by the ratio multiplier.
| What you want to find | Formula | Example | Result |
|---|---|---|---|
| Your current ratio | Yield ÷ Dose | 34g out ÷ 18g in | 1.89 → approximately 1:1.9 |
| Target yield for a desired ratio | Dose × Ratio multiplier | 18g × 2 (for 1:2) | 36g target yield |
| Target yield for ristretto | Dose × 1.5 | 18g × 1.5 | 27g target yield |
| Target yield for lungo | Dose × 3 | 18g × 3 | 54g target yield |
| Required dose for a target yield at a fixed ratio | Yield ÷ Ratio multiplier | 30g yield ÷ 2 | 15g dose required for 1:2 |
💡 How to read your ratio in practice: Your scale reads 34.8g when you stop the pump. Your dose was 18.1g. Ratio = 34.8 ÷ 18.1 = 1.92 — approximately 1:1.9. That is slightly shorter than a 1:2 baseline. If the shot tasted balanced but slightly too intense, extending yield to 36g on the next shot moves you cleanly to 1:2. The arithmetic takes 5 seconds and tells you exactly how far from your target you are.
Ratio Reference: Short, Standard, and Extended Espresso
Espresso styles overlap. Ratio labels such as ristretto, normale, and lungo are useful shorthand, but there is no single worldwide cutoff that makes one number universally correct. Use these ranges as orientation, then taste the coffee.
| Style | Approximate ratio range | 18g dose example | Typical cup effect | Useful when |
|---|---|---|---|---|
| Short / ristretto-style | About 1:1 to 1:1.5 | 18–27g out | High concentration, heavy body, small beverage | You want a concentrated base or a coffee tastes better at a shorter yield |
| Common espresso range | About 1:1.5 to 1:2.3 | 27–41g out | Balances concentration and extraction for many coffees | General dial-in starting range |
| Extended espresso | About 1:2.3 to 1:3 | 41–54g out | Lower concentration, potentially higher extraction | A coffee tastes tight, sharp, or under-developed at shorter yields |
| Lungo-style | Roughly 1:3 and beyond | 54g+ out | Larger, lighter beverage; may expose bitterness or astringency if pushed too far | You intentionally want a long espresso-style extraction |
Important: ratio does not prescribe shot time. A short shot can run slowly and a long shot can run quickly depending on puck resistance and machine behavior.
Dose and Yield Calculator: Every Common Dose at Every Standard Ratio
Use this table to find your target yield for any dose and ratio combination without doing the arithmetic. Dose in the left column; ratio across the top; yield at the intersection. All weights in grams.
| Dose | 1:1 yield | 1:1.5 yield | 1:2 yield ✓ | 1:2.5 yield | 1:3 yield | 1:4 yield |
|---|---|---|---|---|---|---|
| 14g | 14g | 21g | 28g | 35g | 42g | 56g |
| 15g | 15g | 22.5g | 30g | 37.5g | 45g | 60g |
| 16g | 16g | 24g | 32g | 40g | 48g | 64g |
| 17g | 17g | 25.5g | 34g | 42.5g | 51g | 68g |
| 18g ✓ | 18g | 27g | 36g | 45g | 54g | 72g |
| 19g | 19g | 28.5g | 38g | 47.5g | 57g | 76g |
| 20g | 20g | 30g | 40g | 50g | 60g | 80g |
| 21g | 21g | 31.5g | 42g | 52.5g | 63g | 84g |
| 22g | 22g | 33g | 44g | 55g | 66g | 88g |
What Ratio Controls — and What It Does Not
One of the most common errors in espresso dial-in is assigning the wrong problem to ratio. Changing ratio when grind, temperature, or puck prep is the actual issue produces a different-looking shot that still tastes wrong in the same underlying way. Understanding what ratio does and does not control keeps the dial-in process clean and efficient.
| Variable | Does ratio control this? | What actually controls it |
|---|---|---|
| Shot concentration (TDS) | ✅ Yes — primary control; shorter ratio = higher TDS; longer ratio = lower TDS | Ratio + dose weight + extraction yield together determine cup TDS |
| Total extraction yield (%) | ✅ Yes — longer ratio extracts a higher percentage of the bean’s soluble mass | Ratio + grind + temperature + time all affect extraction percentage |
| Shot time | ⚠️ Indirectly — changing yield target stops the pump at a different point; but flow rate is unchanged | Grind size and puck preparation determine flow rate; ratio determines when you stop |
| Sourness / under-extraction | ⚠️ Partially — a shorter ratio (less yield) can increase sourness by extracting fewer sweet compounds | Primarily grind (too coarse) or temperature (too low); fix grind before changing ratio |
| Bitterness / over-extraction | ⚠️ Partially — a very long ratio can extend extraction into the bitter phase | Primarily grind (too fine) or temperature (too high); fix grind before shortening ratio |
| Channeling | ❌ No | Puck preparation — uneven distribution and tilted tamping; fix before any ratio adjustment |
| Crema density | ❌ No | Bean freshness, roast level, and grind fineness produce crema volume and density independently of ratio |
| Body and mouthfeel | ✅ Yes — shorter ratio = heavier body from higher TDS; longer ratio = lighter body | Ratio + extraction yield together produce mouthfeel; grind fineness also contributes |
🔬 The correct order of operations: Grind first (establish timing), then temperature (establish character), then ratio (establish intensity). Using ratio to correct sourness or bitterness that is caused by grind or temperature produces a different-tasting shot that still has the same underlying extraction problem — it is treating the symptom, not the cause. A sour shot from too-coarse a grind made ristretto-style will still taste sour, just more concentrated. The same shot with the grind fixed will taste balanced at both 1:2 and 1:1.5. Always resolve the extraction problem at the grind and temperature level before using ratio as a finishing adjustment.
Measure first, then adjust
The two tools that make brew ratio useful
A scale tells you dose and beverage yield. An espresso-capable grinder lets you change flow without guessing. You do not need a long accessory list to start using ratio intelligently.
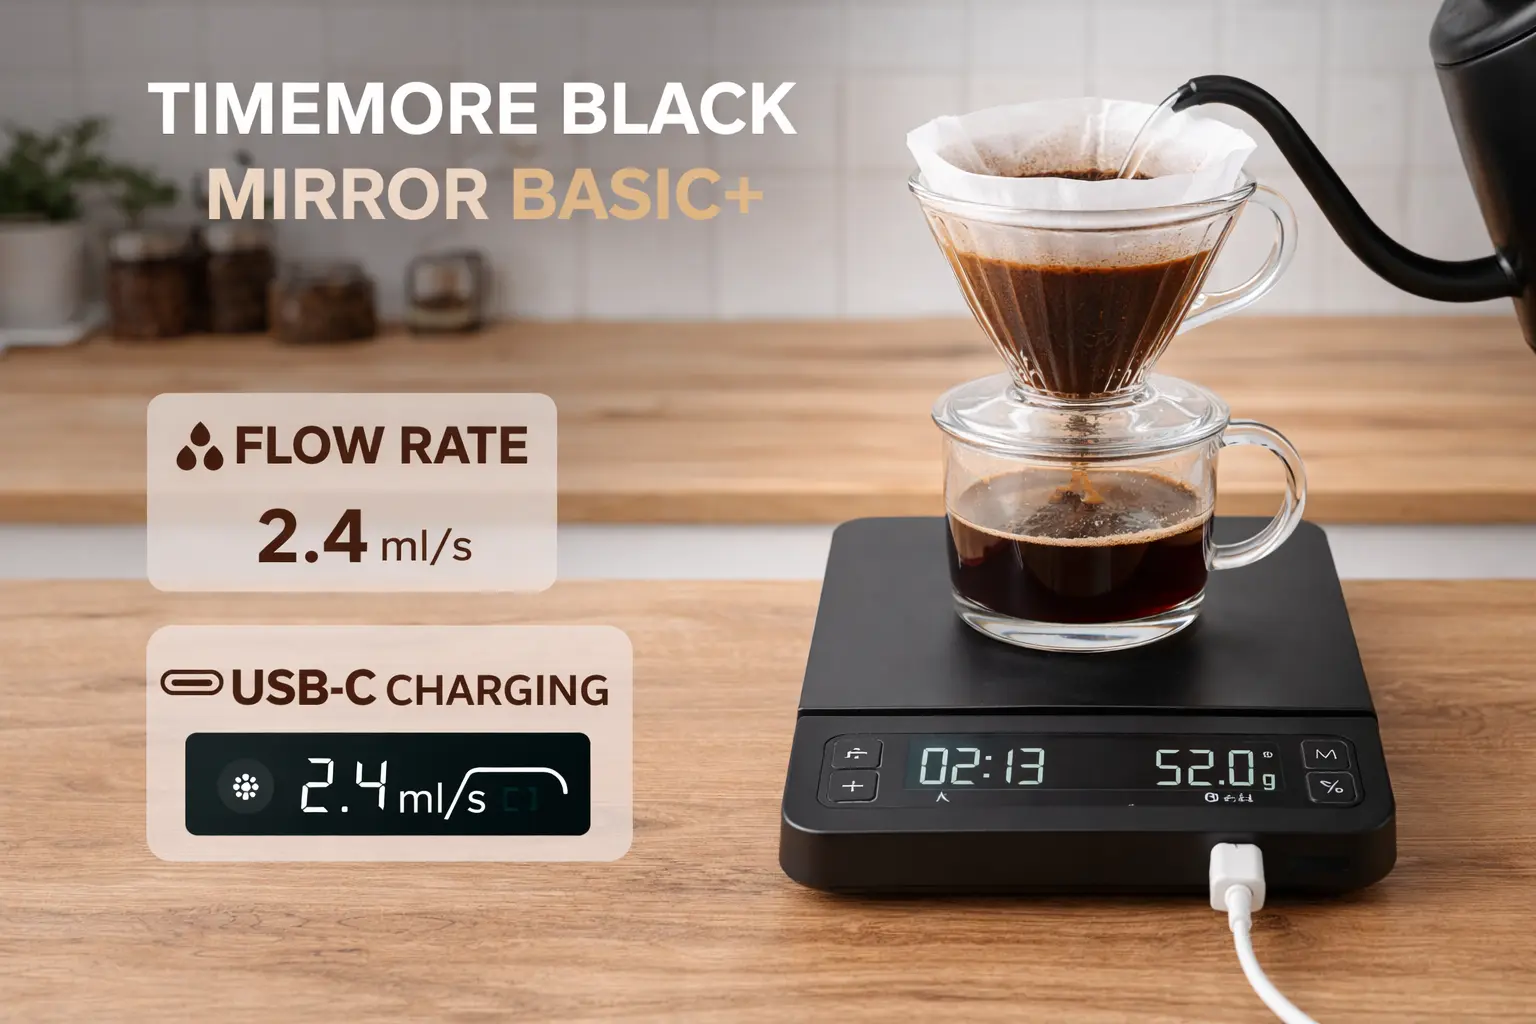 Timemore Black Mirror Basic+Compact scale example for weighing espresso dose and beverage yield.View CoffeeGearHub product page →
 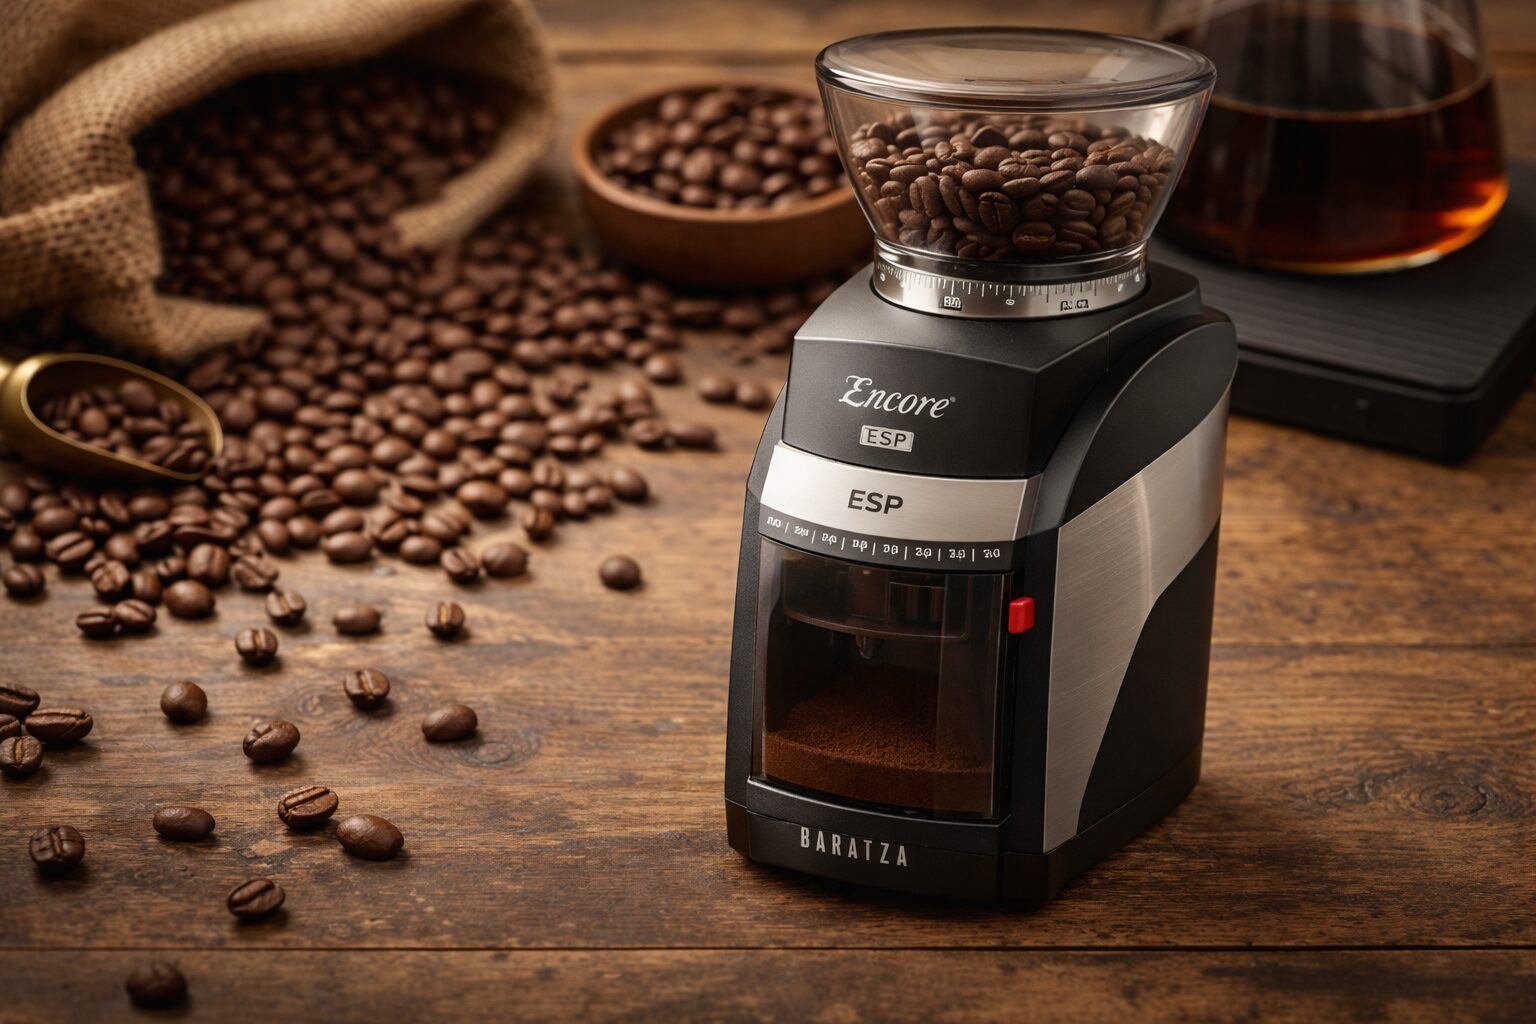 Baratza Encore ESPNumbered stepped adjustment makes recipe logging and repeatability straightforward.Check current Amazon offer →
Affiliate disclosure: Amazon links may earn CoffeeGearHub a commission at no additional cost to you. Prices and availability can change.
How Ratio Relates to Shot Time
Ratio and shot time describe different things. Ratio tells you how much beverage you produced relative to the dry dose. Time tells you how long the extraction took to reach that yield. Changing the target yield changes when you stop the shot, but it does not automatically create the right flow rate.
Use time as a diagnostic. If the shot reaches your target yield much faster or slower than your normal baseline, check grind, dose, puck preparation, basket fill, and machine behavior. Do not force every coffee into one time window when the cup tastes balanced outside it.
Practical method: lock the dose, choose a target ratio, pull the shot on a scale, record time, then taste. Adjust grind to change flow; adjust yield to change concentration and extraction endpoint. Change one variable at a time.
Ratio by Roast Level: Useful Tendencies, Not Fixed Rules
Roast level changes solubility and flavor, so it can influence where a coffee tastes balanced. But roast labels are broad: two “light” coffees can behave very differently. Use roast level as a starting clue, then let taste decide.
| Roast tendency | Reasonable first experiment | What to taste for | Possible next move |
|---|---|---|---|
| Darker roast | Start near a shorter-to-standard ratio | Harshness, roast bitterness, excessive dryness | Shorten yield slightly or lower temperature if the machine allows |
| Medium roast | Start around a conventional espresso ratio | Balance of sweetness, acidity, body, and finish | Move yield a few grams in either direction based on taste |
| Lighter roast | Try a standard-to-longer ratio | Sharp acidity, under-developed sweetness, thin finish | Extend yield, grind finer, or increase temperature one variable at a time |
These are tendencies, not prescriptions. Coffee process, freshness, basket, grinder, temperature, pressure, and water all change the useful ratio range.
Ratio for Milk-Based Drinks
Milk reduces perceived espresso intensity, so a more concentrated espresso base can help coffee remain noticeable in a cappuccino, flat white, or latte. But ratio is only one lever: dose and milk volume matter just as much.
| If the milk drink tastes… | Try first | Why |
|---|---|---|
| Balanced | Keep the current espresso recipe | No need to change ratio just because milk is involved |
| Too weak / coffee disappears | Shorten yield slightly or increase dose if the basket allows | Raises espresso concentration relative to milk |
| Too intense / roasty | Extend yield slightly or increase milk proportion | Lowers concentration without assuming the espresso itself is defective |
Build a good straight espresso first, then adjust the espresso-to-milk balance for the drink you actually make.
Using Ratio as a Dial-In Tool
In the dial-in hierarchy — grind first, temperature second, ratio and dose third — ratio is the finishing tool used after extraction quality is already balanced. This places it in a specific and deliberate role: not fixing sourness or bitterness (which are grind and temperature problems), but dialling in the intensity and character of an already well-extracting shot. Here is how to use ratio at each stage of the finishing phase.
Adjusting Yield for Intensity
Once your shot is balanced at a repeatable baseline, taste for intensity. If the shot is balanced but too intense for your preference, extend the yield by a few grams on the next pull while keeping dose and grind unchanged. If it is balanced but too light, shorten the yield slightly. Compare taste rather than forcing the adjustment into a fixed time target.
When Ratio Changes Require Grind Re-Adjustment
Moving significantly between ratio styles can change how the shot flows because you are ending the extraction at a different yield. Re-check taste and flow after a large ratio change. If the shorter shot races to the target yield and tastes under-extracted, try a finer grind; if it stalls or tastes harsh, move coarser. There is no required proportional time for every ratio.
Ratio Adjustments Within a Bag
As coffee ages after roasting, degassing and other physical changes can alter flow and extraction behavior. The same recipe may therefore need small grind or yield adjustments over the life of a bag. Track the recipe that tastes good today rather than assuming a universal day-by-day schedule.
Ratio, TDS, and Extraction Yield: The Three-Way Relationship
For home baristas who want to understand espresso at a deeper level than simply “does it taste good,” the relationship between brew ratio, total dissolved solids (TDS), and extraction yield is the analytical framework that explains why every recipe adjustment does what it does. This section is optional for beginners but extremely useful for anyone who wants to troubleshoot systematically rather than intuitively.
| Term | Definition | How you control it | Typical target (specialty espresso) |
|---|---|---|---|
| Brew ratio | Dose weight divided by yield weight (1:2 = 1 part coffee to 2 parts espresso) | Stopping the pump at a specific yield weight on the scale | 1:2 for standard; 1:1.5 for ristretto; 1:2.5–3 for light roast extended |
| TDS (total dissolved solids) | The percentage of the liquid espresso that is dissolved coffee matter — the rest is water | Ratio (shorter ratio = higher TDS), extraction yield, and dose weight | 8–12% TDS for espresso (compared to 1.2–1.5% for drip coffee) |
| Extraction yield | The percentage of the dry coffee’s soluble mass that was dissolved into the espresso | Grind size, temperature, contact time (shot time), and ratio all affect extraction percentage | 18–22% extraction yield — below 18% = under-extraction (sour); above 22% = over-extraction (bitter) |
| The relationship | Extraction yield = (TDS × yield weight) ÷ dose weight. A 1:2 shot with 10% TDS has extracted 20% of the bean’s soluble mass (10% × 36g ÷ 18g = 20%). A 1:1.5 ristretto at 10% TDS has a higher extraction percentage despite the same TDS because less water extracted that TDS from the same grounds. | ||
🔬 Why you don’t need a TDS meter to brew excellent espresso: TDS meters (refractometers calibrated for coffee) allow precise numerical measurement of extraction percentage. They are valuable for professional calibration and for diagnosing persistent problems that aren’t resolving through taste-based dial-in. But every home barista who follows the shot-time and taste-based dial-in system in this guide — grind for timing, temperature for character, ratio for intensity — is already achieving well-extracted shots in the specialty target range without a meter. Your palate is the instrument. A balanced-tasting shot in the 25–30 second window at 1:2 is a well-extracted shot, full stop. The numbers confirm what the tasting already tells you.
Common Ratio Mistakes
| Mistake | Why it happens | What to do instead |
|---|---|---|
| Measuring yield by volume, not weight | Shot glasses have ml markings; easier than using a scale | Place a scale under the cup on the drip tray. Zero it before the shot starts. Stop the pump when the scale reads your target yield in grams. Crema volume makes ml measurement unreliable by 5–15g per shot |
| Stopping the pump by time instead of by weight | Timers feel like the natural espresso measurement; “30-second shot” is a common shorthand | Time and ratio are not the same thing. Always stop the pump by yield weight. Record time as a secondary diagnostic signal, not as the primary control |
| Changing ratio to fix sourness or bitterness | Seems like “more espresso” or “less espresso” should fix the flavour | Sourness and bitterness are extraction quality problems — caused by grind and temperature. Fix grind first (get into 25–30 second window), then temperature, then use ratio only for intensity after the shot is balanced |
| Using the same 1:2 ratio for all roast levels | a 1:2 baseline sounds like a universal rule | 1:2 is the starting point for medium roast. Light roasts typically need 1:2.5 to 1:3. Dark roasts often benefit from 1:1.5 to 1:1.8. Treat roast level as a primary factor in ratio selection |
| Using a lungo ratio for milk drinks | More volume seems like it should produce more flavour in a large latte | A longer ratio produces more liquid at lower concentration, so coffee flavor may become less prominent in milk. If the drink tastes weak, try a shorter yield, a larger dose within the basket’s useful range, or less milk. |
| Not accounting for dose variation when comparing ratios | Grinding by timer rather than weight produces inconsistent doses | Ratio calculations are meaningless if dose varies between shots. Weigh every dose to 0.1g. Dose variation changes the yield target and makes clean shot-to-shot comparison harder. Weigh the dry dose when you are testing ratio changes. |
| Conflating espresso ratio with Americano dilution | “I just add water after” seems like the same as a lungo ratio | An Americano adds water after extraction — the espresso shot itself is still 1:2. A lungo ratio sends water through the grounds at pressure for the full extended yield. These are different extraction processes producing different cups — not the same drink made different ways |
The Two Tools That Make Ratio Repeatable
You need two measurements for brew ratio: dry coffee dose and liquid beverage yield. A compact 0.1g scale gives you those numbers; an espresso-capable grinder lets you adjust flow without changing the ratio target blindly.
Timemore Black Mirror Basic+ — ratio measurement
A compact coffee scale is the most direct tool for ratio work because it lets you weigh dose and beverage yield instead of estimating either one. The Black Mirror family is one CoffeeGearHub catalog example; any responsive 0.1g scale that fits the drip tray can serve the same role.
Baratza Encore ESP — repeatable stepped adjustment
The Encore ESP is a practical reference because its numbered adjustment system makes it easy to record a shot recipe and return to the same setting. Baratza defines settings 1–20 as the higher-resolution espresso range and 21–40 for filter brewing.
Troubleshooting: Is the Ratio Actually the Problem?
| Symptom | Could ratio be involved? | Check before changing ratio | Useful experiment |
|---|---|---|---|
| Shot is balanced but too intense | Yes | Dose and beverage yield are repeatable | Extend yield a few grams and compare |
| Shot is balanced but too weak | Yes | Basket is not under-dosed | Shorten yield slightly or increase dose within the basket’s useful range |
| Sour / thin / fast | Maybe | Grind, puck prep, temperature, coffee freshness | Try a finer grind before assuming the ratio is wrong |
| Harsh / dry / very slow | Maybe | Grind, temperature, cleanliness, dark-roast behavior | Try a coarser grind or shorter yield one change at a time |
| Milk drink lacks coffee presence | Yes | Milk volume and espresso dose | Use a more concentrated shot or reduce milk volume |
| Same ratio, different taste every shot | Usually not | Dose consistency, distribution, tamp, grinder retention, temperature | Stabilize the workflow before changing ratio |
Final Takeaway: Ratio Is a Measurement Framework, Not a Law
Brew ratio gives you a repeatable way to describe espresso: how much dry coffee went in and how much beverage came out. A 1:2 ratio is a useful baseline for many coffees, but it is not the correct answer for every roast, grinder, basket, machine, or taste preference.
Use ratio to control concentration and extraction endpoint. Use grind to control flow. Use temperature, puck preparation, water, and machine settings when those variables are the real cause of the problem. The goal is not to force every shot into one number; it is to make deliberate changes and understand what changed.
FAQs: Espresso Brew Ratio
What is a good starting espresso brew ratio?
How do I calculate espresso brew ratio?
Should I measure ratio by weight or volume?
Does changing ratio change shot time?
Do light roasts always need a longer ratio?
Do dark roasts always need a shorter ratio?
What ratio works best for milk drinks?
Why can two shots at the same ratio taste different?
CoffeeGearHub shortlist
Measure and dial in the shot
These CoffeeGearHub pages cover the tools and techniques that make ratio repeatable.
Continue Learning
In this guide
- The 30-Second Answer
- What Espresso Brew Ratio Means
- Why We Always Measure Espresso Ratio by Weight
- How to Calculate Your Espresso Ratio
- Ratio Reference: Short, Standard, and Extended Espresso
- Dose and Yield Calculator: Every Common Dose at Every Standard Ratio
- What Ratio Controls — and What It Does Not
- How Ratio Relates to Shot Time
- Ratio by Roast Level: Useful Tendencies, Not Fixed Rules
- Ratio for Milk-Based Drinks
- Using Ratio as a Dial-In Tool
- Ratio, TDS, and Extraction Yield: The Three-Way Relationship
- Common Ratio Mistakes
- The Two Tools That Make Ratio Repeatable
- Troubleshooting: Is the Ratio Actually the Problem?
- Final Takeaway: Ratio Is a Measurement Framework, Not a Law
- FAQs: Espresso Brew Ratio
- Continue Learning